If you’re doing Facebook for business, you may as well be doing it right! In this 10-part blog series, we’ll be looking at quick and easy things YOU can do TODAY to improve your business Facebook page. YAS!
Step 1… Update and Optimise Your FB Profile Image
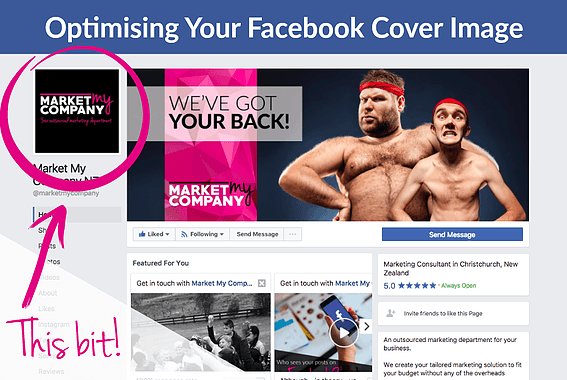
Your company profile image is important AF. Why? Because it’s the key image that represents your brand right across Facebook – and it will often be the first impression you make with new prospects.
Your profile image appears on:
-
your Facebook page (duh)
-
the news feed of your followers
-
posts on your page’s Timeline
-
replies in comments
-
comments and posts you make on other pages while using your page
Your profile image appears everywhere your brand engages on Facebook, so it’s important that it creates a strong impression.
For the vast majority of businesses it’s important to use a logo, and to minimise or reduce any additional text. When your profile appears next to your comments it’s going to display much smaller, so you want to ensure your branding is still clean and clear in that format.
The Technical Stuff
When viewed on a desktop or laptop, your Page’s profile picture displays at 170 x 170 pixels in size. On a smartphone, it will display at just 128 x 128 pixels.
Your profile image will be cropped to fit a square, so it’s best to get the layout and proportions right before uploading it to avoid a hasty crop within Facebook itself.
The image you upload must have minimum measurements of 180 x 180 pixels. We recommend saving your profile image as a PGN file to ensure a higher-quality display.
Market My Company uses Adobe InDesign to create impeccable profile images, but if you’re going the DIY route you can use a simple free program such as PicMonkey to create your image.
Create a Facebook Profile Image in 10 Simple Steps
-
Create a free account with PicMonkey.
-
Select PicMonkey’s Design option and set your canvas to at least 180 x 180 pixels.
-
Choose your canvas colour (don’t worry – you can change this later).
-
Select the Overlay option and then choose to Add Your Own.
-
Upload your logo from your computer. If you have a file with a transparent background you can then set your canvas colour to whatever hue you like.
-
Adjust the size and position of your logo to best fit the frame of your square profile image.
-
If you want to erase any additional text such a taglines, you can select the Eraser option on your Overlay.
-
If you’re not using a logo with a transparent background, make sure your canvas colour – which will be the background colour of your profile image – perfectly matches the background colour of your logo. You can do this using one of PicMonkey’s colour picker tools.
-
Save your image as a PNG file, which will ensure your image remains a high quality once you’ve uploaded it to Facebook.
-
Upload your beautiful DIY profile image!
Pro tip!
When you save your Facebook profile image, choose a relevant file name that’s optimised for search! Facebook images are frequently ranked in Google Image search results, so optimise your file name with your business name or relevant keywords you’d love to rank well in. Every little bit of SEO helps!
Want to leave it to the professionals? Our team of marketing whiz kids can optimise your Facebook page with professional profile and cover image design, about and page info copywriting, custom tabs, and much more. Contact us now to enquire, or to book a free consultation to talk about your Facebook marketing goals!